
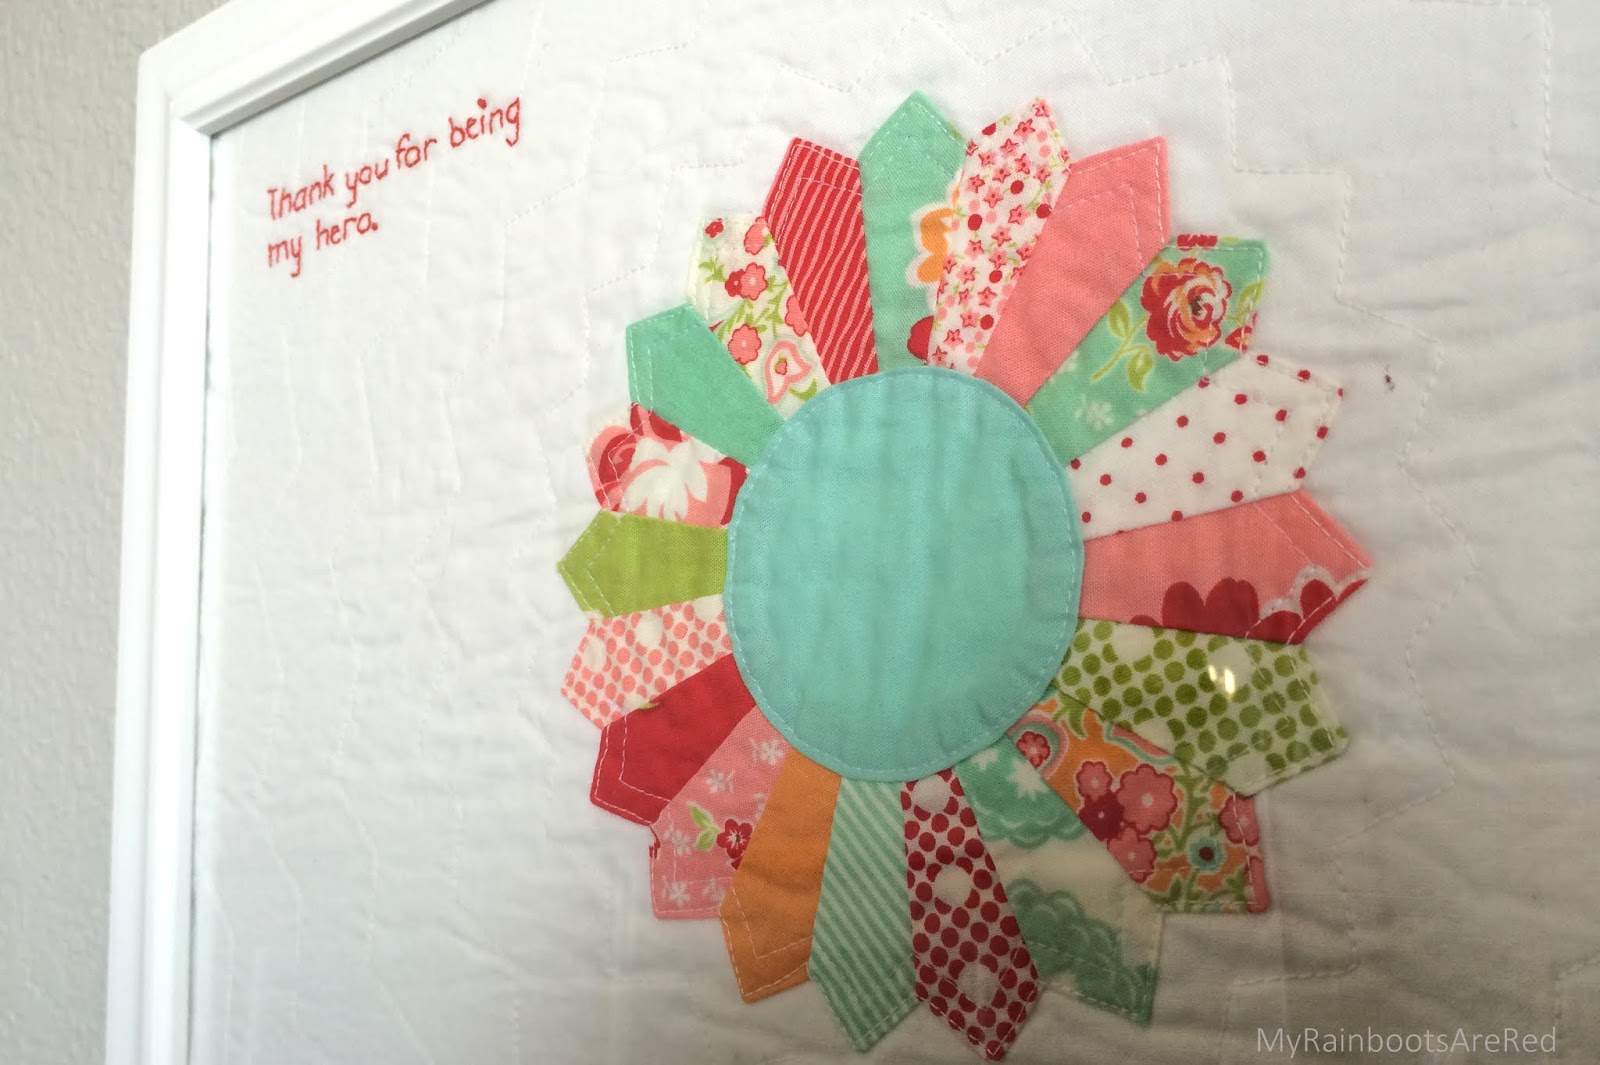
I have a particular fondness for mini-Dresdens. They are vintage (which I adore!) - absolutely perfect in their cuteness - a great way to use up those small fabric scraps - adorable when made into potholders -


That being said, here's a quick run-down of how I make them.
You will need:
- EZ Dresden Ruler (or other type) and rotary cutter/mat
- (20) small 2.5" scraps,
- center circle fabric
- background fabric 12" x 15"
- cotton batting 12" x 15"
- picture frame 11" x 14" (including mat for 8"x10" picture)
1. I used my EZ Dresden Ruler (by Darlene Zimmerman) to cut out (20) 2.5" blades from my scrap bin.

(if you aren't familiar with how to do this, there are many on-line tutorials).
3. Print out (on paper) whatever word/phrase you want to embroider, in desired size and font.
4. Figure out placement of Dresden and words.
- Lay your picture mat on top of your background fabric (so you can see where to place Dresden and words). Place Dresden on your background fabric wherever desired, and use 4 pins to tack in place. (I do mine slightly off-center - towards the lower right edge).
- Place your printed words underneath your background fabric where desired, and trace onto your fabric, using a fabric pen.
5. Now lay your batting piece underneath your background fabric, and pin or spray baste layers.
6. Pin Dresden more securely, and stitch in place.
(I like to do a double-stitch. Sew around very edge, and then 1/4" inside first stitching line)

I used a cup or other round object from my house to draw a circle in the size I wanted.
Note: you could also do a raw-edge circle, since it won't have much wear in a picture frame.
6. Quilt (or don't)
7. Embroider word/phrase. (I use a double-strand of DMC floss - but whatever is fine!)
--(Note, if you want to wash it and get a crinkled look, zig-zag around raw edges and wash/dry now.)
8. Trim to desired size (11x14"), zig-zag raw edges, and frame!
And there you go!!!

I love Dresdens, too! I have my grandmother's vintage Dresden Plate quilt from 1944 with my mom's name and her cousins' names embroidered in the centers of each plate. I love the way you double stitched the blades of your plates -- it's a nice touch.
ReplyDeleteHave a great Mother's Day tomorrow, by the way!
that sounds like an amazing quilt. What a neat thing - to have the names embroidered too.
DeleteHello Julia,
ReplyDeleteHope your well. I was reading about your wonderful story again on how you got your new machine. You see, I'm researching for a machine to buy and wondered which one you got. I found out that I can't afford your new one... but I wonder if you have sold your old one and if not would you like to sell it to me?
Take care,
Elisa
Hi Elisa,
DeleteEven though I got a new one, I still think my old one is a fantastic machine. Thank you for your interest. However, I'm using it to teach sewing lessons to my 3 daughters, as well as other little girls in 4-H.
A few years back I found another one just like it on craigslist for a steal of a deal, and bought that (thinking it would be the extra I used for sewing lessons). But when this whole situation happened and I was able to get a new machine, I gave the other one to my sister in law. She is just getting into quilting, and was struggling on a very old, cheap machine. I figured it would be good to pass on a little of what had been given to me.
I'd just encourage you to look for local used. Bernina's hold their value, and will run forever. The quality is so nice, you'll love even a lower-end machine.
Best of luck!
Lovely Dresden Plates and great fabric choices!
ReplyDelete